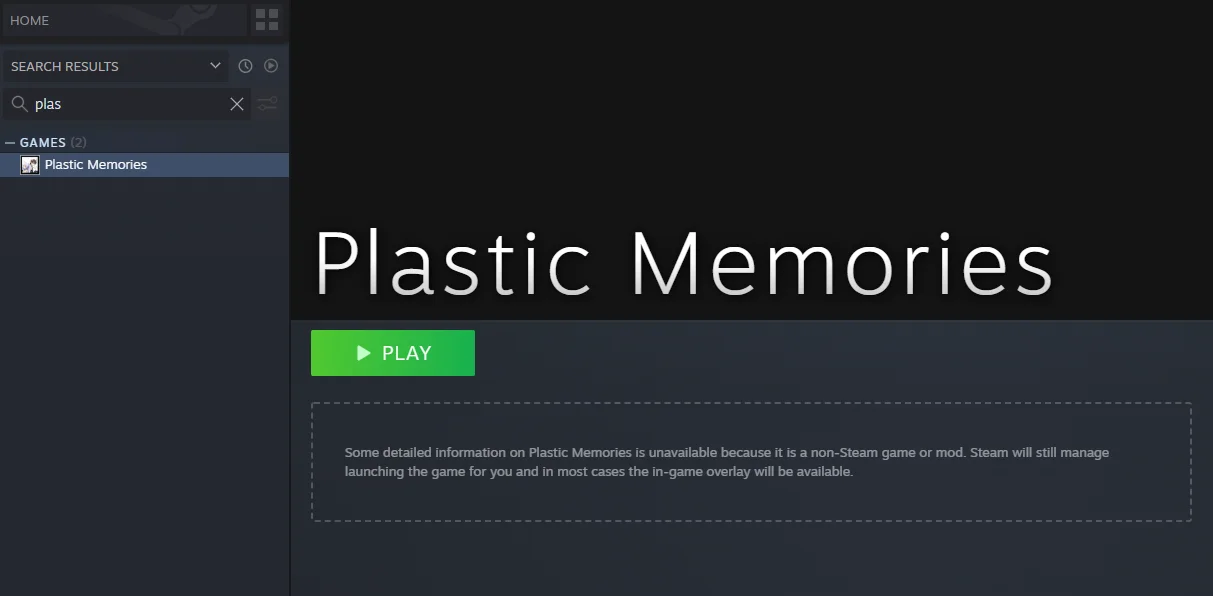
Playing Through Steam
Adding Plastic Memories to Steam
- Open Steam.
- Go to your library, click “Add A Game” in the bottom left corner, and select “Add a Non-Steam Game”.
- A window will pop up. Click “Browse” at the bottom of the window. This will open your file explorer.
- Navigate to where you extracted Plastic Memories, select “Plastic Memories.exe”, and click “Open” in the bottom right corner.
- The file explorer will close and Plastic Memories will show up in the previous window with a checkmark next to it.
- Click “Add Selected Programs” at the bottom of the window.
-
You should now have a shortcut for Plastic Memories on Steam.
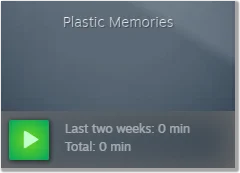
Once added, It should look like this.
Setting Custom Artwork
- Find Plastic Memories in your Steam library and click on it. It should take you to its shortcut page.
- Right-click the area above the green play button and select “Set Custom Background”.
- Navigate to the folder where you extracted the contents of “PC.7z”, open the “Steam Assets” folder, and select “steam_library_hero.png”
- Right-click again in the same area and select “Set Custom Logo”.
- This should reopen the folder you were just in. There are two logo variations: “steam_logo.png” and “steam_logo_english.png”. Choose whichever one you like.
- Now launch Plastic Memories and exit the game. This will add it to your “Recent Games” list.
- At the top of the left pane, click “Home”.
-
Under “Recent Games”, right-click “Plastic Memories”, hover over “Manage”, and select “Set Custom Artwork".

Plastic Memories should be the first game under “Recent Games” and bigger than other games. Meep.
-
There are three Steam Capsule variations to choose from: “steam_capsule.png”, “steam_capsule_english.png”, and “steam_capsule_nologo.png”. Choose whichever one you like.
-
Now launch another game from your Steam Library. This will make Plastic Memories the second game in your Recent Games list.
Plastic Memories should now be the second game on the “Recent Games” list. Where's my wife?
-
Again under “Recent Games”, right-click “Plastic Memories”, hover over “Manage”, and select “Set Custom Artwork".
- There are three Steam Library cover art variations: “steam_libary.png”, “steam_libary_english.png”, and “steam_libary_nologo.png”. Choose whichever one you like.
- Optional: Once more, right-click on Plastic Memories, select “Properties”, and click on the icon of Tsukasa and Isla. This will bring up a different file explorer. At the bottom, change the “File Type” from “Program Files (*.exe)” to “All Files (*.*)”. Then navigate back to the Steam Assets folder and select “icon.png”.
- Now Plastic Memories will match the rest of your Steam Library.

These assets have been made available on SteamGridDB for users who use programs such as BoilR or SGDBoop to automate adding game art to Steam.
Desktop: Steam Controller Remapping / Community Configurations
- In the top left corner of Steam, click “Steam” and select “Settings”.
- In Settings, click on “Controller”.
-
Depending on what controller you use, tick "Enable Steam Input for PlayStation/Xbox/Switch/Generic Controllers".
This is what the controller settings should look like.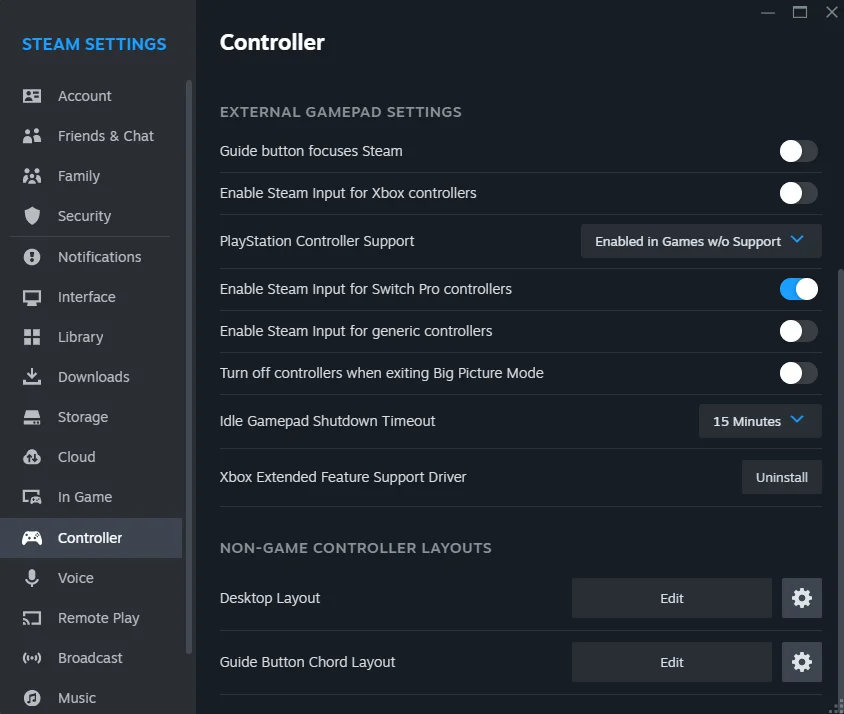
If using a Nintendo Switch controller check “Use Nintendo Button Layout”.
This will change the Steam overlay for games when a controller is connected. To revert, uncheck controller configuration. If controller issues are noticed outside of Steam uncheck controller configuration.
-
Close out of Steam Settings.
- On Plastic Memories’ Steam shortcut page, there should now be a Controller Layout option. Click it.
- This will open the Steam Controller Configurator, where you can map keyboard keys to controllers, swap buttons, and browse community configurations.
- Click “Browse Configs”
- Click “Community” and choose the configuration that matches your controller.
The provided Steam controller configurations will fix several issues with the game’s default controller configuration, such as mapping Backlog to Square/X, Fullscreen to Select, enabling mouse functionality with the Right Stick/PS4 & PS5 touchpads, and Right Trigger for Left Click. This makes interaction mode usable with a controller.
Steam Deck: Controller Configurations
- By default, the Steam Deck has controller remapping enabled. To access remapping/community configurations in gaming mode, find Plastic Memories in the Non-Steam section of your library.
- Open Plastic Memories and click the controller icon on the right side of your screen.
- Select the first option under “Current Layout” to choose a community layout.
A video tutorial covering each section is available here: